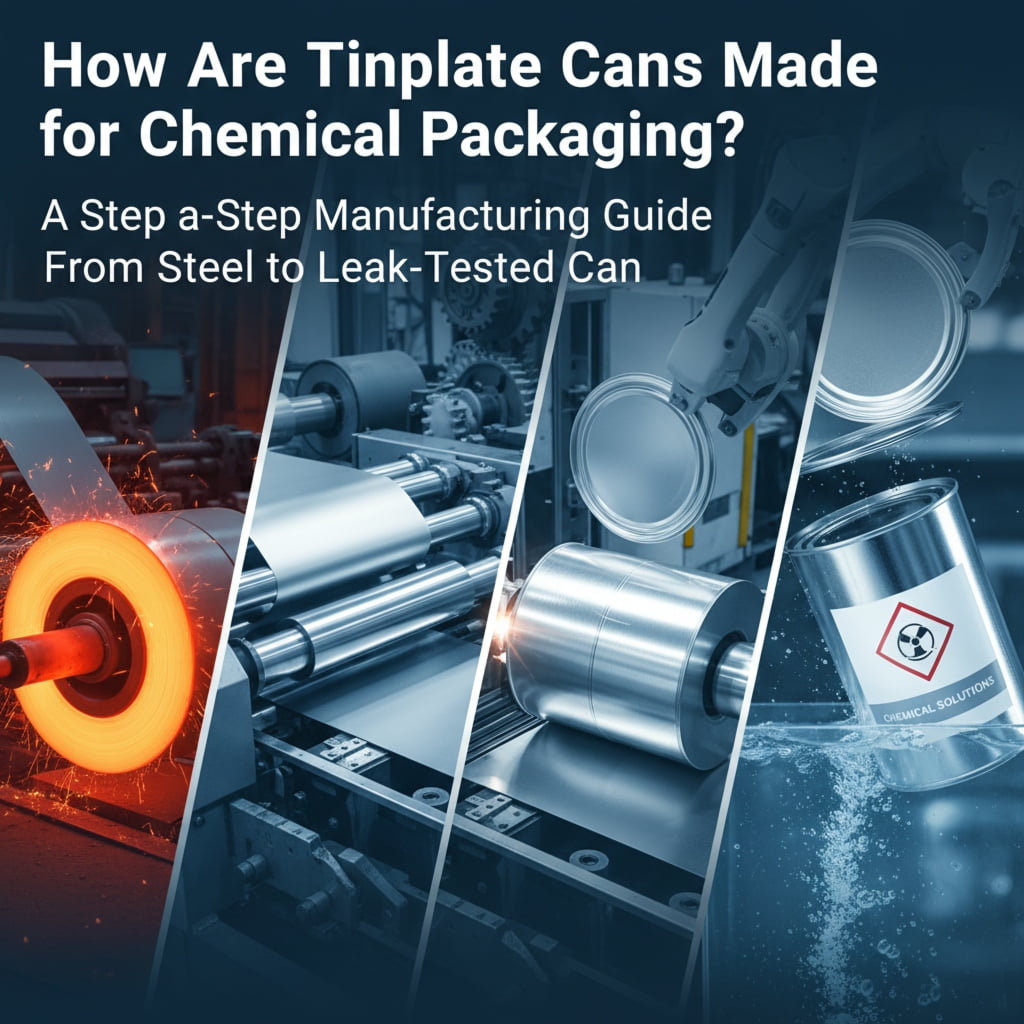
Leaky chemical cans cause catastrophic losses and damage your reputation. Understanding how a can is properly manufactured is the first step to preventing these costly and dangerous failures.
A chemical tinplate can[^1] is made by selecting high-grade steel[^2], applying a chemical-resistant internal coating[^3], forming a welded cylinder[^4], and sealing the ends with a multi-layer double seam. Every can must then pass a 100% automated leak test[^5] to ensure it is completely secure for transport.
When you are sourcing packaging for chemical products, you are not just buying a container. You are investing in a safety system. Every step in the manufacturing process is a chance to either build in security or introduce a hidden risk. In this guide, I will walk you through how we make chemical-grade tinplate cans, step by step. I want you to see why each detail matters, because understanding the process is the only way to ensure you get the reliable, leak-proof performance[^6] you need.
What Is a Tinplate Can for Chemical Packaging?
Think all tin cans are the same? That common mistake can lead to costly chemical spills, product contamination, and regulatory fines. Let's look at what makes a chemical-grade can different.
A chemical tinplate can is an engineered system, not just a container. This system-level approach is explained in detail in
Prevent Chemical Tin Can Leaks: A Systems Approach.
It combines low-carbon steel[^7], a protective tin layer, a chemical-resistant internal coating, and reinforced welded seams. This construction is designed to withstand pressure, corrosion, and the rigors of transport, unlike standard food cans.
A tinplate can designed for chemicals is a far more complex product than it appears. It is a system where every component works together to contain potentially hazardous materials[^8] safely. Unlike a simple food can, it is built to survive internal pressure, chemical corrosion, vibrations from transport, and heavy stacking loads[^9]. If one part of this system fails, the entire package is compromised.
Here is what makes up a true chemical-grade can:
- Low-Carbon Steel Substrate: This forms the structural backbone of the can, providing strength and rigidity.
- Electrolytic Tin Coating: A micro-thin layer of tin is applied to the steel. This is not just for looks; it provides a crucial barrier against rust and helps the internal coating adhere properly.
- Internal Chemical-Resistant Coating: This is the primary line of defense against the product inside. It must be perfectly matched to the chemical to prevent corrosion.
- Welded Body Seam: The can body is sealed with a strong electric resistance weld, not weak solder.
- Reinforced Double Seams: The top and bottom are sealed with a multi-layer interlocked seam that creates a long, difficult path for any potential leak.
- Full-Process Leak Testing: Every single can is tested to guarantee it is 100% leak-proof.
If you are still comparing different materials, you can see a full breakdown in my guide on Tinplate vs Plastic for Chemical Packaging.
Step 1: Why Does Tinplate Steel Selection Matter So Much?
Using cheaper steel seems like a good way to save money on packaging. But this decision can directly cause micro-cracks, coating failure, and leaks down the line. Here is why starting with high-grade tinplate is non-negotiable.
The base steel determines the can's ultimate strength and reliability. High-grade tinplate prevents micro-cracks during forming and ensures the internal coating adheres properly. Using inferior steel creates a weak foundation that no amount of engineering can fix, leading to premature failure and leakage.
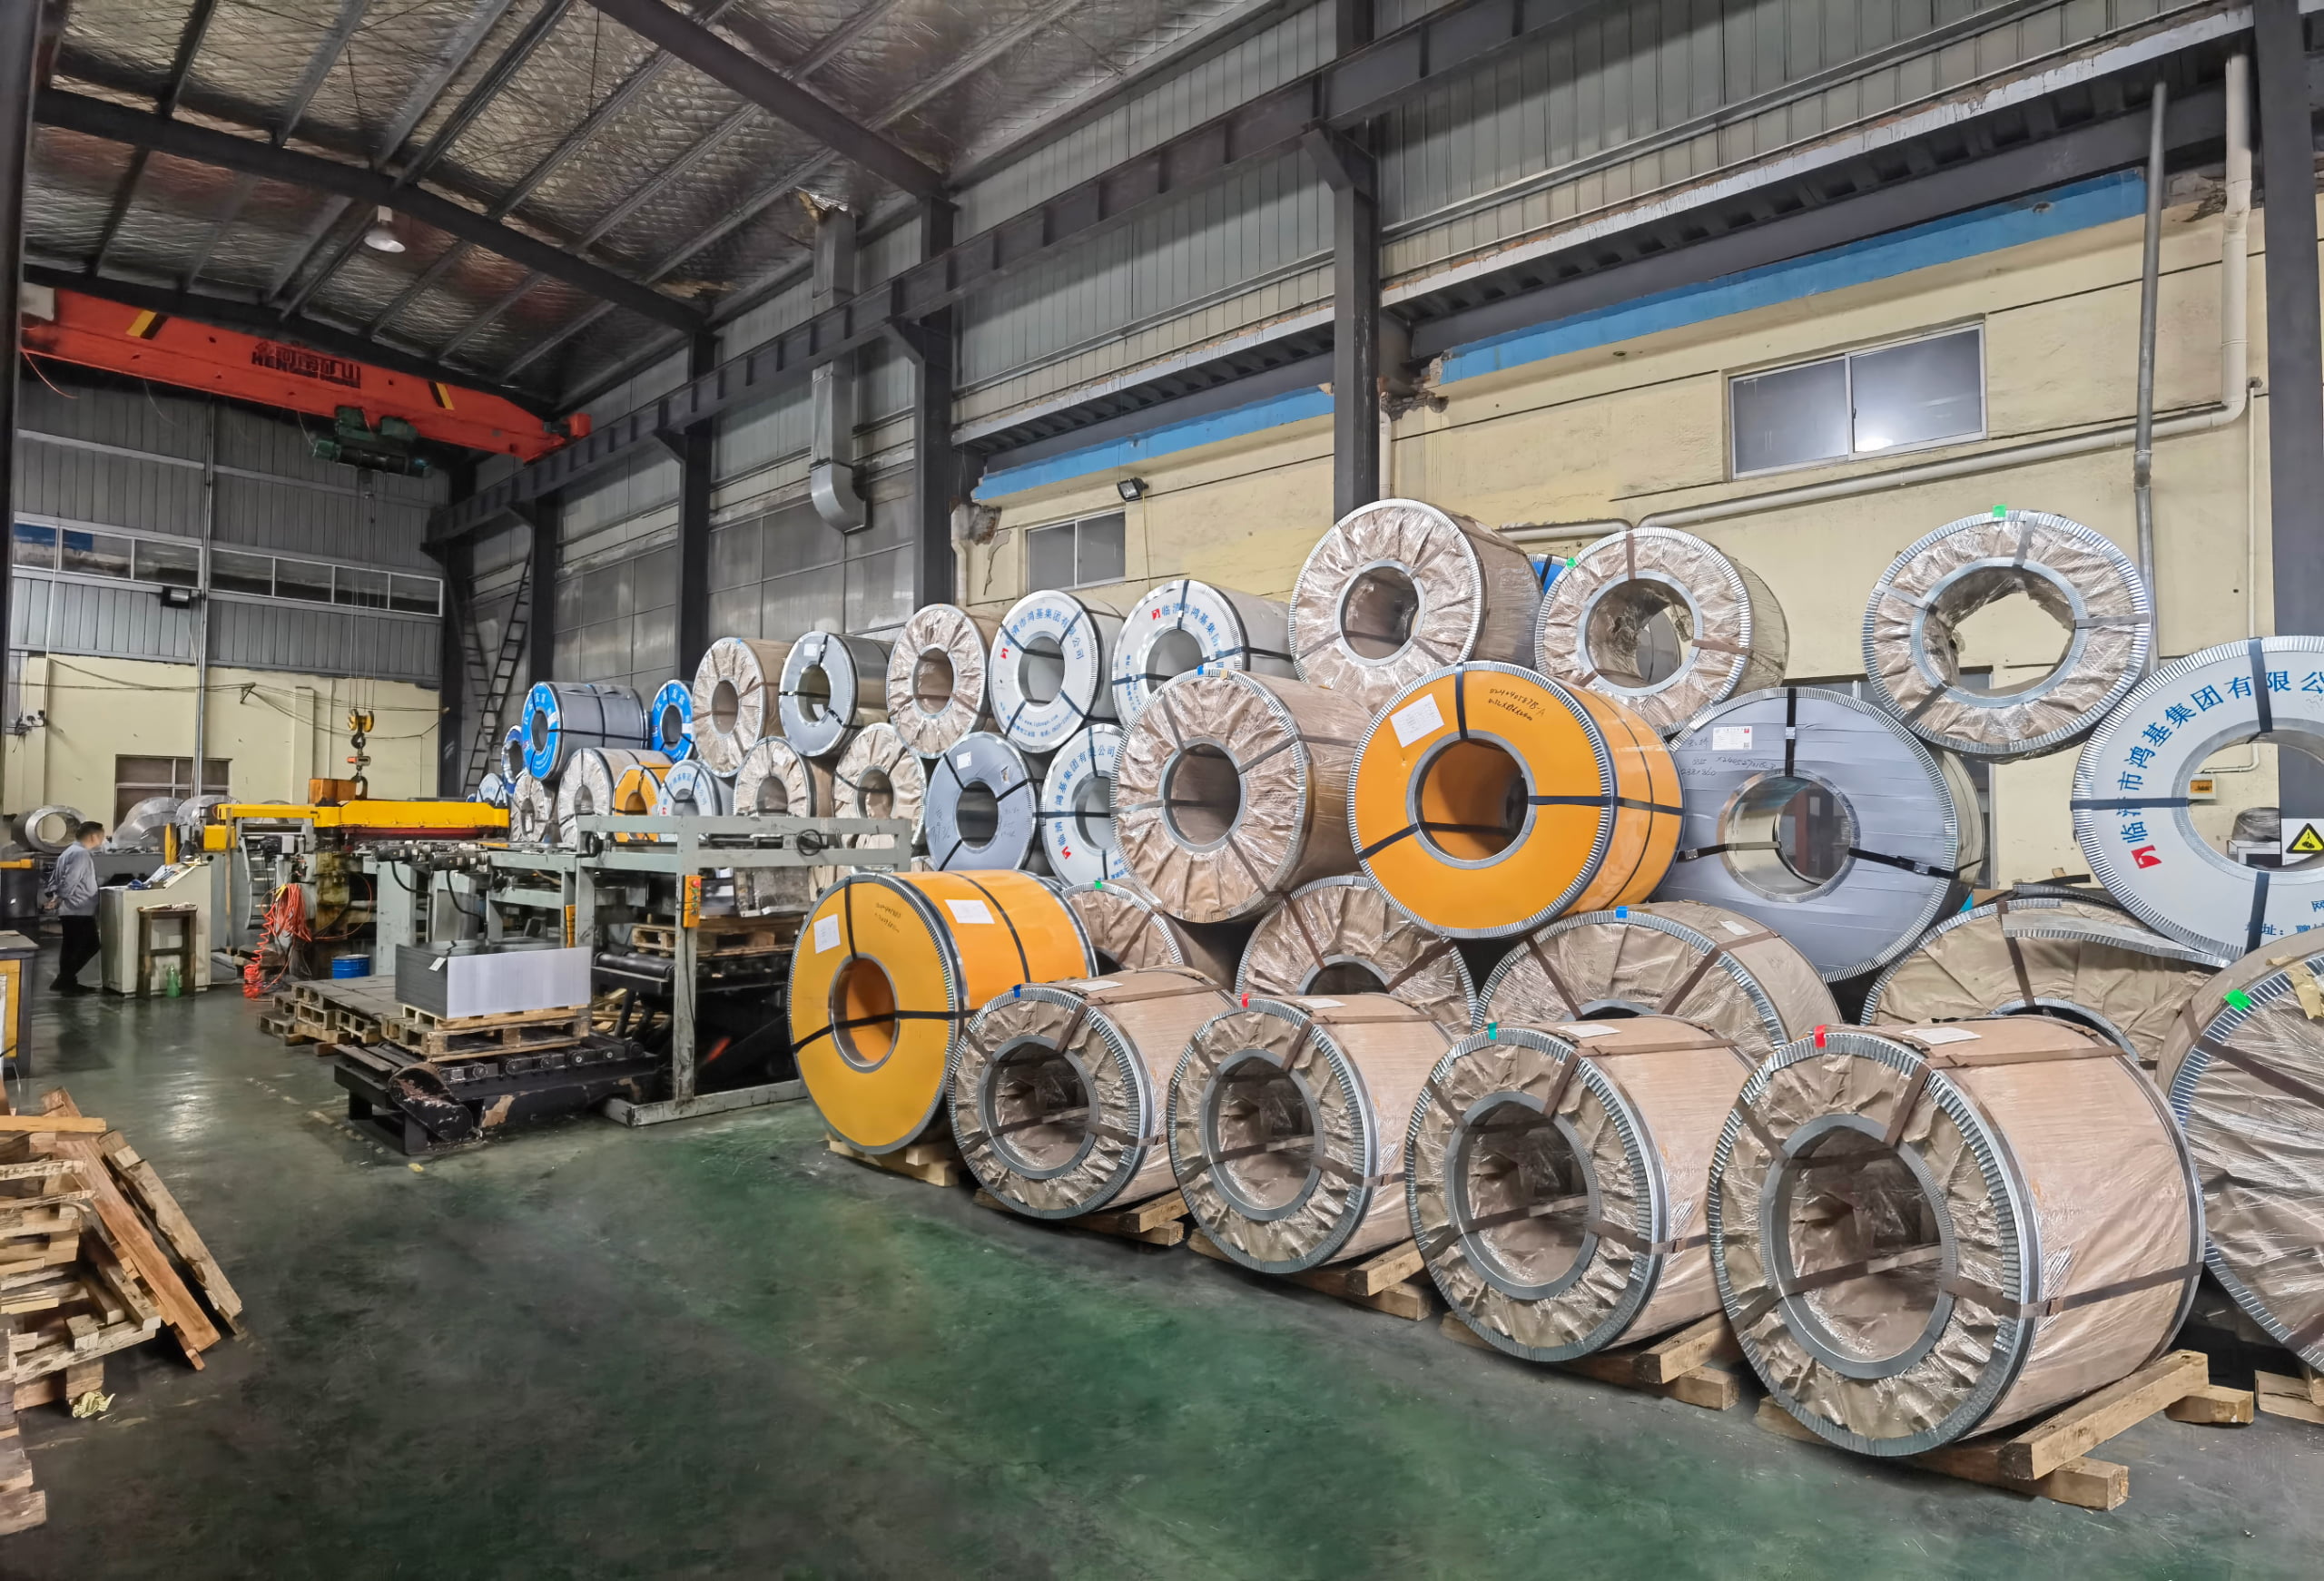
The manufacturing process begins long before we stamp the first can. It starts with selecting the right raw material. For chemical packaging, we must use a higher grade of low-carbon, cold-rolled steel coated with a very precise layer of tin. The quality of this base material sets the performance ceiling for the finished can. No advanced coating or seam design can make up for poor-quality steel.
Why is this so important?
- It improves corrosion resistance. The tin layer acts as a barrier, protecting the steel from rust before and after the can is made.
- It enhances coating adhesion. The tin surface creates a better bond for the internal chemical-resistant coatings, preventing them from flaking or peeling off.
- It maintains strength during forming. High-grade steel can be stretched and shaped into a can body without developing tiny, invisible cracks that can later become leak points.
Poor-quality steel, on the other hand, is a direct cause of failure. It can lead to micro-cracks[^10] during the deep-drawing process, cause the internal coating to delaminate, and result in early leakage after your product is filled.
| Parameter | Chemical Grade Tinplate | Standard Tinplate |
|---|---|---|
| Carbon Content | Ultra-low | Medium |
| Surface Uniformity | High | Medium |
| Coating Adhesion | Critical | Optional |
| Suitable for Hazardous Chemicals | ✅ | ❌ |
Step 2: How Is the Internal Coating Applied as the First Defense?
You might think the metal body of the can protects your product. But the internal lining is what truly stands between your chemical and the steel. Getting this step wrong will cause corrosion and leaks.
The internal coating is applied to the flat tinplate sheet before it is formed into a can. This ensures a uniform, pinhole-free layer that protects the steel from the chemical inside. Choosing the correct coating, like epoxy or phenolic, is critical for preventing corrosion and leakage.
The internal coating is the can's first and most important line of defense against the chemical it holds. This step is critical because it determines chemical compatibility[^11] and long-term corrosion resistance. Choosing the wrong internal coating is one of the most common root causes of corrosion and leakage in chemical cans. A full decision framework based on chemical compatibility, pH, polarity, and risk level is covered in
How to Choose the Internal Coating for Chemical Cans.
We apply this coating while the tinplate is still a flat sheet, before it is cut or formed. Why?
- It ensures uniform thickness. Coating a flat surface is far more precise than trying to spray the inside of a finished can. This prevents weak spots.
- It reduces pinholes. A smooth, even application minimizes the risk of microscopic holes that could expose the steel.
- It improves adhesion. The coating can be properly cured and bonded to the metal while it is flat, so it stretches with the steel during forming instead of cracking.
Common coatings we use include:
- Epoxy: A versatile choice for many solvents and general chemicals.
- Epoxy-phenolic: Offers enhanced resistance for more aggressive products.
- Phenolic: Provides excellent protection against acidic products.
- PVF (fluoropolymer): Used for extremely corrosive or high-purity chemicals.
For a complete framework on making this decision, see my guide on How to Choose the Internal Coating for Chemical Cans.
Step 3: How Does a Flat Sheet Become a Welded Cylinder?
A simple weld might seem easy. But the heat from welding can destroy the internal coating right at the seam, creating a hidden and almost guaranteed path for a leak. Let me show you how professionals protect this critical area.
The flat, coated sheet is rolled into a cylinder, and the seam is joined using electric resistance welding. The intense heat from welding can damage the internal coating, so a special powder coating[^12] is applied over the interior weld seam to ensure it is fully protected against corrosion.
After the internal coating is applied and cured, the flat tinplate sheets are cut to the precise size needed for the can body. They are then rolled into a perfect cylinder. The most critical part of this step is creating the side seam. We use electric resistance welding, which passes a strong electrical current through the metal to fuse it together. This creates a much stronger bond than old-fashioned soldering.
However, this process introduces a major risk. The intense heat of the weld (over 2000°C) completely burns away the internal protective coating in a narrow strip along the seam. This leaves a line of exposed, unprotected steel on the inside of the can. If left untreated, this is where corrosion and leakage will almost certainly begin.
To prevent this, we have a crucial sub-step:
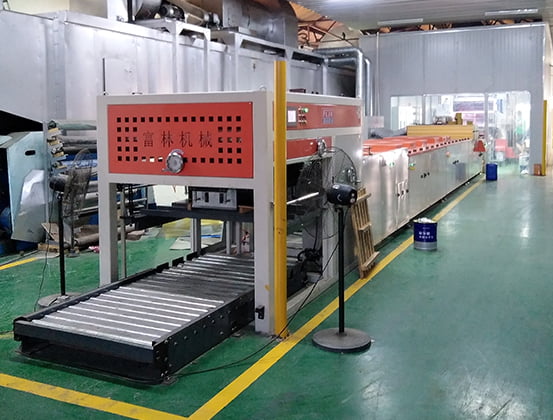
- Internal Weld Seam Powder Coating: Immediately after welding, a special powder coating is sprayed onto the inside of the weld seam.
- Controlled Curing: The can then passes through an oven that melts the powder, causing it to flow and form a complete, impermeable barrier over the exposed steel.
If this seam protection[^13] is skipped or done incorrectly, the can is destined to fail. This is one of the most common failure points I analyze in my guide: Prevent Chemical Tin Can Leaks: A Systems Approach.
Step 4 & 5: Why Is Seaming the Key to Structural Integrity?
You need a can that will not burst under pressure or leak when stacked. A weak seam is a ticking time bomb during transport and storage. Let us look at how multi-layer seams create a fortress for your product.
The top and bottom lids are attached using a multi-layer double seam. For chemical cans, this is often a 5- or 7-layer seam. This complex, interlocked structure provides the strength needed to resist internal pressure, stacking weight, and vibration during shipment, preventing leaks and bursts.
Once the can body is formed and its side seam is protected, the bottom end is attached. After your product is filled, the top lid is attached in the same way. This process, called "double seaming," is where the can gets most of its structural integrity. It is not a simple press-fit; it is a mechanical interlocking of metal.
Chemical cans face intense stresses that food cans do not:
- Internal Vapor Pressure: Temperature changes can cause the chemicals inside to expand, creating pressure that pushes outwards on the lids.
- Stacking Compression: Pallets of cans are stacked high in warehouses and trucks, putting immense weight on the bottom cans.
- Transport Vibration: Constant shaking during shipping can weaken seams over time.
To withstand these forces, we use reinforced double seams. The edge of the can body and the curl of the lid are rolled and folded together multiple times to create a strong, gas-tight seal. The number of layers directly relates to the can's strength.
| Can Size | Seam Structure | Purpose |
|---|---|---|
| 1–10L | 5-layer double seam | Compact, reliable seal |
| 20L | 7-layer double seam | High pressure & stacking resistance |
More layers create a longer, more complex path for a leak to travel, which gives a much higher safety margin. We also ensure the gasket material inside the lid's curl is chemically resistant and that the seam compression is precisely controlled. Too much pressure can crack the metal, while too little will not create a proper seal.
Step 6 & 7: How Do Curing and Leak Testing Guarantee Safety?
You assume every can you receive is perfect. But a single untested can with a microscopic flaw can cause a disaster in your warehouse or during shipment. See the final, non-negotiable steps that ensure zero defects.
After assembly, every single can undergoes a 100% automated leak test[^5] using air pressure or vacuum decay. This is not a random spot check. This final quality gate ensures that any potential micro-leaks or seam imperfections are caught and rejected before the can ever leaves our factory.
After the can is fully formed and seamed, it goes through final quality control. First, the coatings, especially the powder stripe on the weld seam, are fully cured in an oven. We also take random samples for aging simulations, where we expose them to heat to ensure the coatings do not soften, blister, or lose adhesion over time.
But the most critical step is last. This is the one part of the process that is absolutely non-negotiable for chemical packaging: 100% automated leak testing. Human visual inspection is not good enough to find the microscopic flaws that cause slow leaks. Every single can that we produce must pass through a testing machine.
There are two common methods:
- Air Pressure Testing: The can is sealed and pressurized with air. Sensitive sensors detect any drop in pressure, no matter how small, which would indicate a leak.
- Vacuum Decay Testing: A vacuum is pulled on the can. If the vacuum level changes, it means air is seeping in through a flaw.
These automated systems are the final gatekeepers of quality. They ensure zero human error in the detection process.
| Test Type | Detects |
|---|---|
| Pressure Test | Structural seam leaks |
| Vacuum Test | Micro-seepage (weeping) |
| Automated Sorting | Zero human error |
You can learn more about why this matters in my deep dive on Common Leakage Problems in Chemical Tin Cans.
Conclusion
A chemical tin can is the result of material science, chemical engineering, and process discipline. Understanding how your cans are made is the first step to ensuring product safety and reliability.
Recommended Reading
To fully understand chemical packaging safety as a system, you may also find these guides useful:
-
[Prevent Chemical Tin Can Leaks: A Systems Approach]
https://jqbuckets.com/common-leakage-problems-in-chemical-tin-cans-failure-modes-root-causes-and-how-to-prevent-them/ -
[How to Choose the Internal Coating for Chemical Cans]
https://jqbuckets.com/how-to-choose-the-internal-coating-for-chemical-cans/ -
[Tinplate vs Plastic for Chemical Packaging]
https://jqbuckets.com/tinplate-vs-plastic-for-chemical-packaging/
[^1]: Explore the significance of chemical tinplate cans in ensuring safe and reliable packaging for hazardous materials. [^2]: Learn how high-grade steel enhances the strength and reliability of chemical cans, preventing leaks and failures. [^3]: Discover the role of chemical-resistant coatings in protecting cans from corrosion and ensuring product safety. [^4]: Understand the process of forming a welded cylinder and its importance in maintaining can integrity. [^5]: Learn about the automated leak testing process that ensures every can is leak-proof before leaving the factory. [^6]: Explore the factors that contribute to the leak-proof performance of chemical-grade cans. [^7]: Explore the benefits of low-carbon steel in creating strong and reliable chemical cans. [^8]: Learn about the safety measures in place for packaging hazardous materials in chemical cans. [^9]: Learn about the structural features that allow chemical cans to endure heavy stacking without failure. [^10]: Understand the impact of micro-cracks on can performance and how to prevent them. [^11]: Explore the importance of selecting the right coating for chemical compatibility to prevent leaks. [^12]: Understand the role of powder coating in protecting weld seams from corrosion. [^13]: Learn about the importance of protecting seams to prevent leaks and ensure can integrity.